


Here are some links to other seed activities that you might enjoy:
- SEED PUZZLE
- Check out the Montessori Place for more ideas about planting seeds. The Pictures speak for themselves.
- Check out Absorbent Minds Montessori for seed to plant stamps. In the past I've made based on these stamps.
Books for your library:
A Seed is Sleepy by Dianna Hutts Aston (author) and Sylvia Long (illustrator)
Parts of a SEED 3 part cards:
Dissecting seeds:
Soak Lima beans overnight - make sure that you have one for each child as well as a paper towel for each child. In a group, hand out the paper towels to each child. Pass out the seeds and allow the children to comment on what they see. Show the children how to remove the seed coat. Next, open the two parts of the Lima bean. "This is two parts of the cotyledon which is the food for the plant." Now look more closely to find the embryo which is the undeveloped plant inside the seed. Explain to the children that the baby plant or embryo could have grown into a large plant. Encourage the children to examine the seed parts while completing the three part cards and book.
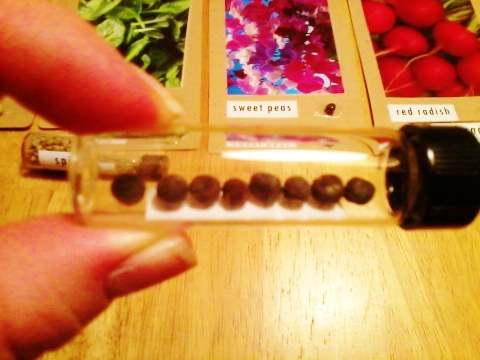
Lovely post! I'm thinking about doing this for my spring homeschool co-op group. What size are the vials that you ordered?
ReplyDeleteThank you! I'm really glad you like it. I believe I bought the C 1/4 vials which are a little over 2" long. Here is the direct link to them: http://www.sunburstbottle.com/glass-bottles/glass-vials/1-4-oz-clear-glass-vial-c1-4
DeleteHi! Just found your blog, and wanted to add it to my reader and my "ultimate Montessori Bloglist" over at my blog, but Google says it can't find a feed. Am I the only one having this problem?
ReplyDeleteHithere. I think I fixed the problem. On the left just below the Fb window on my blog you should be able to find the rss feed for subscribers. good luck!
DeleteThat fixed the problem! Thank you! I am now subscribed and have added you to my bloglist.
ReplyDeleteI love your parts of a seed printables! Thanks so much for posting - I will be using them next week when we start our seeds and plants unit! Check out my blog at www.lessonplanstopotsandpans.blogspot.com
ReplyDeleteThank you so much for all your posts, it is so helpful!! I'm in my second year as a certified lead montessori teacher, and I am in the beginning process of making materials.Your 3 part cards are amazing! Thanks!
ReplyDeleteHi,
ReplyDeleteIam not able to download the parts of a seed cards,.Please help.
Thanks!
Such an informative post, thanks for sharing. The "Montessori Botany: The Seed" activity from Kid Advance Montessori is an excellent hands-on learning tool. It introduces children to the life cycle of plants, focusing on seed structure and germination. This engaging activity helps kids understand plant biology through exploration and observation, fostering a deeper appreciation for nature and scientific inquiry.
ReplyDeleteThis seems like an engaging way for kids to learn about plants.
ReplyDelete